Install Monitoring Uptime Kuma
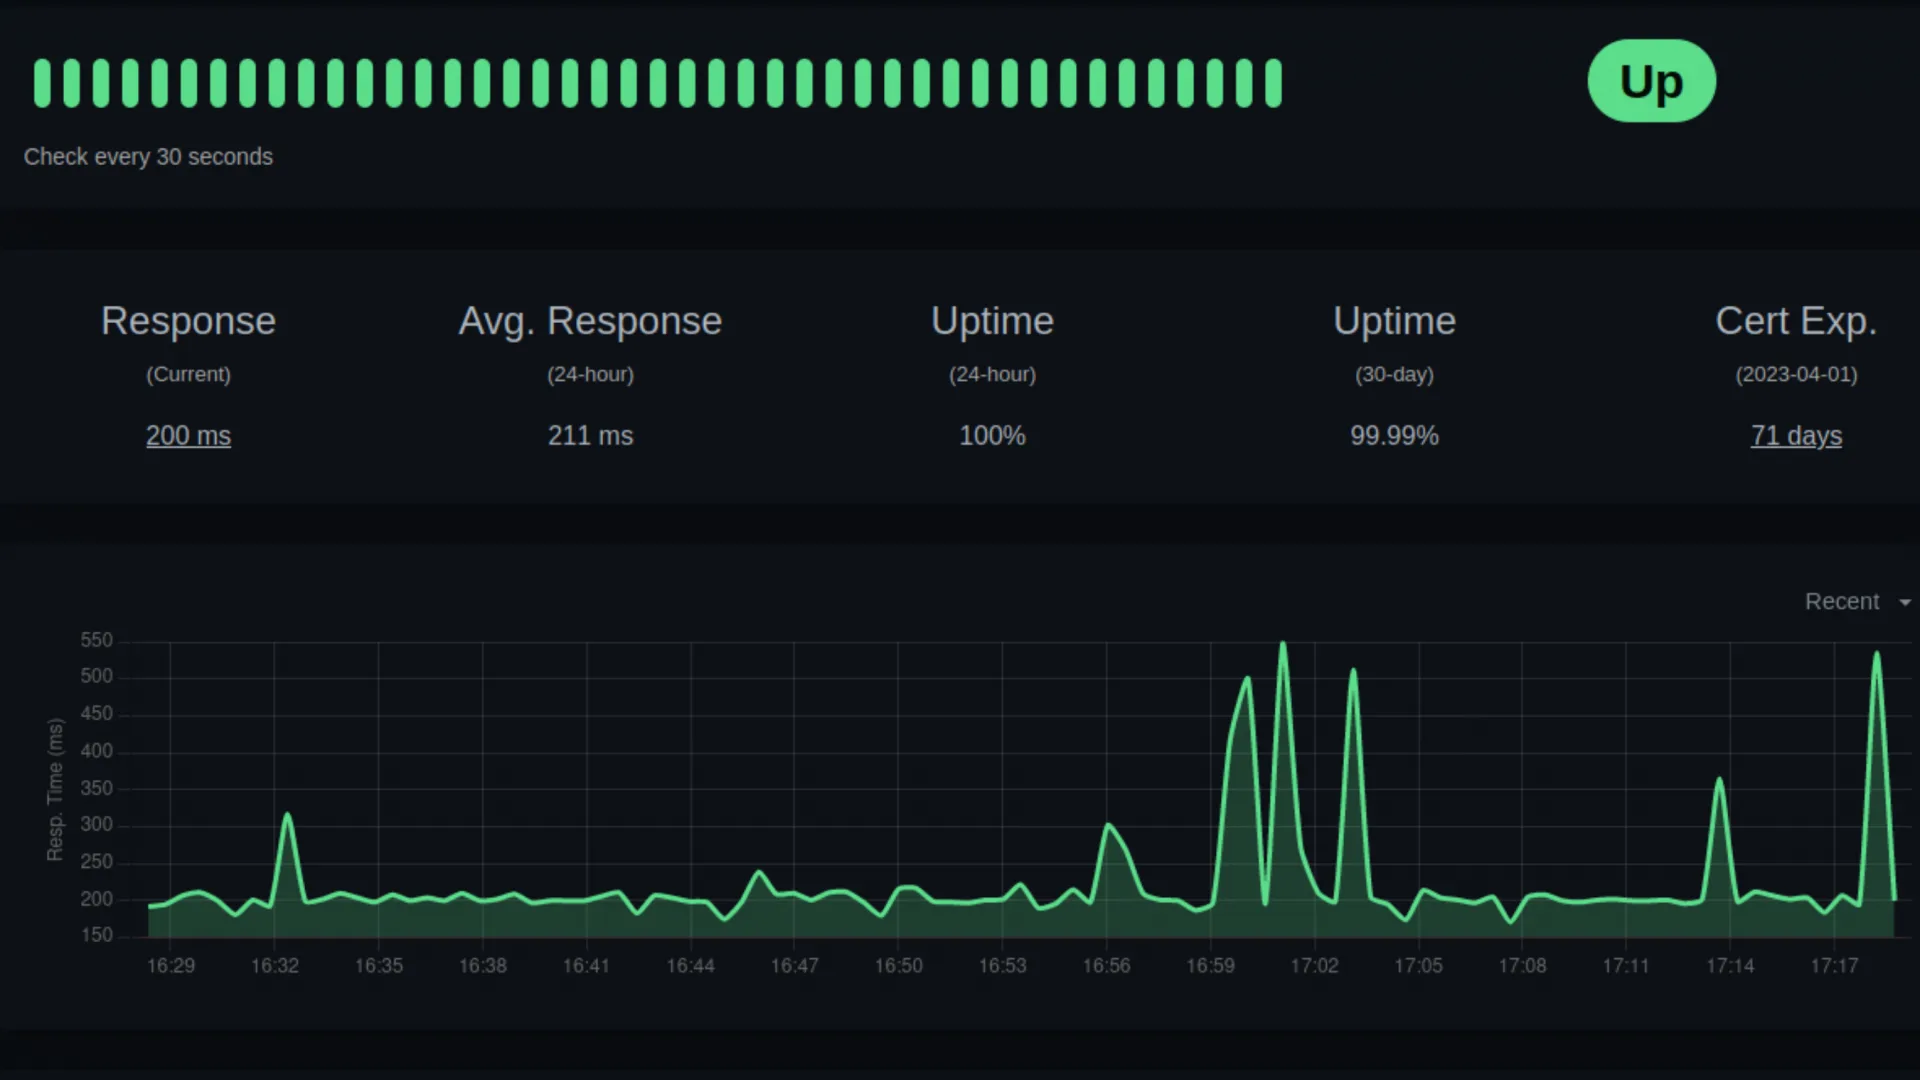
I have been looking for a simple monitoring program for our website for some time. Thanks to the help of our users I found in a post the monitoring software Uptime Kuma.
Uptime Kuma is a web server that uses different types of monitors ( HTTP(s), TCP ports, keywords, ping, DNS, push, etc.) to store and check the status of the hardware or software being monitored and, if necessary, alert you via notifications of various types (Telegram, Discord, Signal, Slack, Pushover, Email (SMTP), etc.). The software is easy to use and can additionally create its own status overviews. You can install it via Docker or directly. Here are my instructions for the installation without Docker.
If you already have Node and npm installed on your system, you can skip this step.
Node and npm should be installed with a version manager (nvm). This way you can keep an overview of the many versions. See also: github.com/nvm-sh/nvm
The terminal must be restarted for the environment variables to work. After that the command "nvm" should be available. Short check:
Now we install the current version of Node:
After the automatic download and install we check it with:
Now all requirements are met (nvm, npm and node).
Details, source code and configuration can be found at: github.com/louislam/uptime-kuma
Now we check again for the current npm version and install the latest version if necessary:
Then we load the source code from Git and start the installation:
When the message "Done" appears, it still takes a few minutes until the input appears again. Do not abort before!
The "Uptime Kuma" server is ready to start. You can start it directly with the following command:
I personally find it better if the server runs and is managed in the background. For this we install a process manager (pm2):
Now we start the "Uptime Kuma" server using pm2:
The default settings for this are: "localhost" and port "3001":
You can of course customize the port and the host:
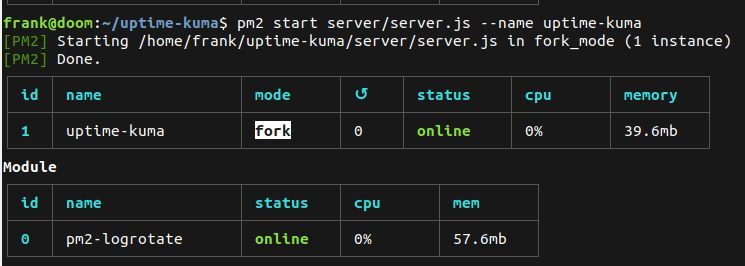
After the start it should now look like this:
The installation is finished. You can reach the Uptime Kuma Admin web page at:
With the process manager pm2 you can control the server:
To make Uptime Kuma start automatically on the next reboot, enter the following command:
Now a generated command appears. Now paste this command completely into the shell via Copy&Paste and execute it:
This will start the server at the next reboot.
Tip: To get rid of the autostart of the server enter the following:
If the Ubuntu firewall is active, you have to release port 3001:
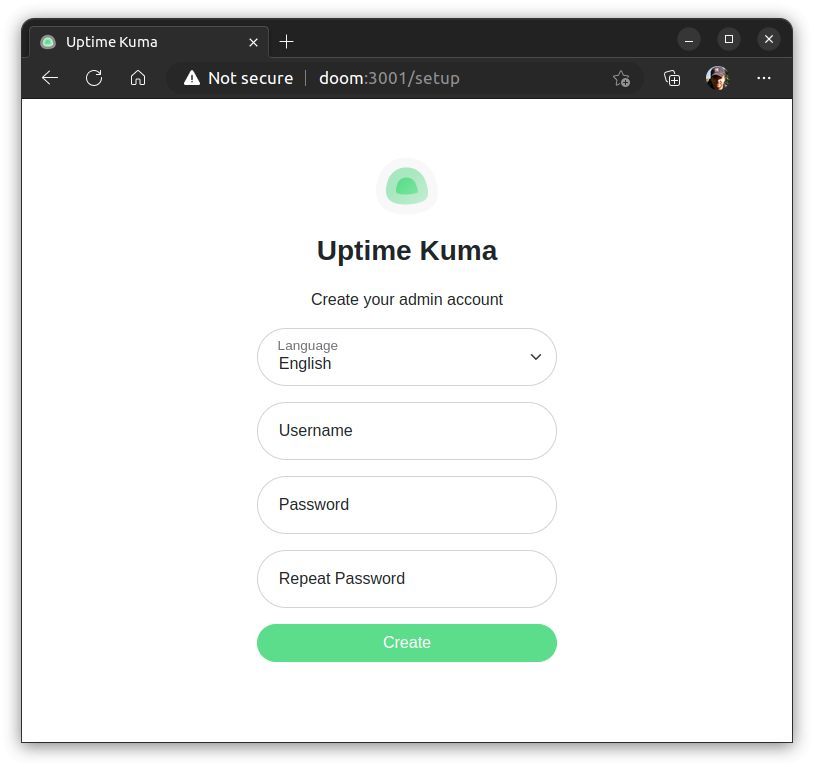
At the first start the GUI asks for the language and creates a new user:
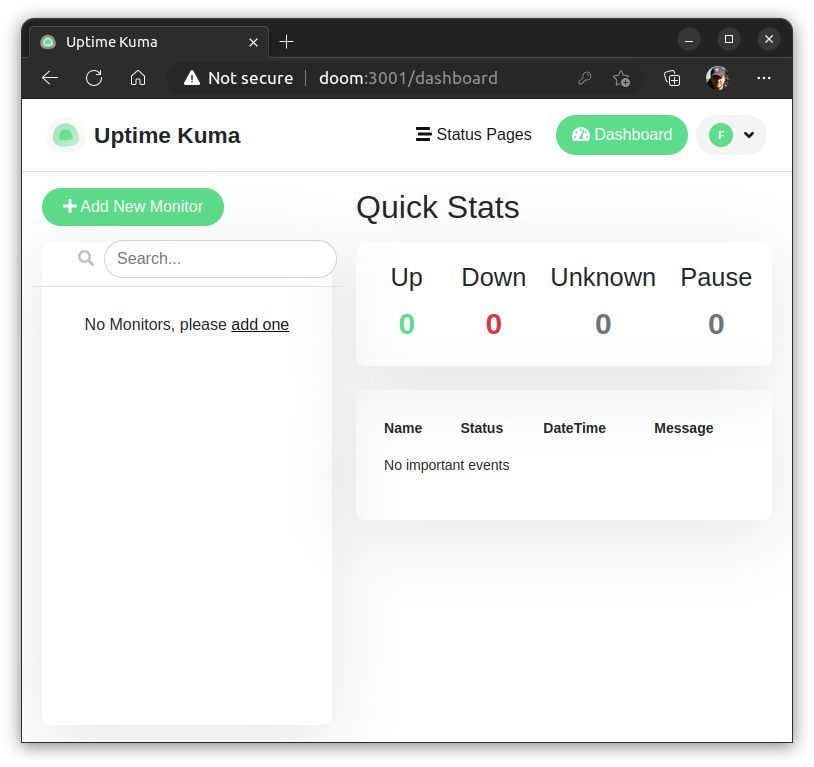
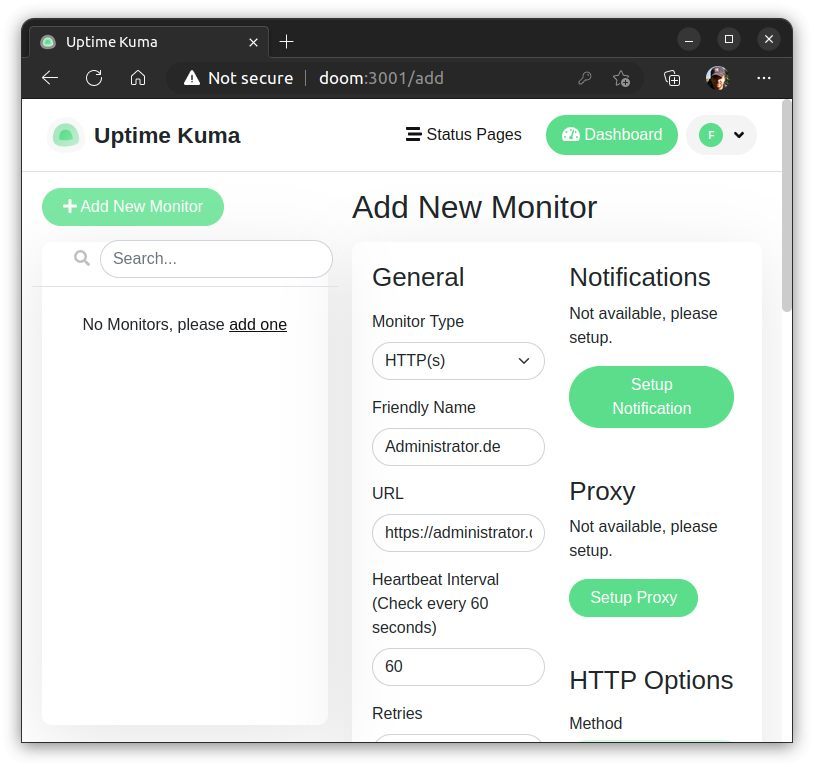
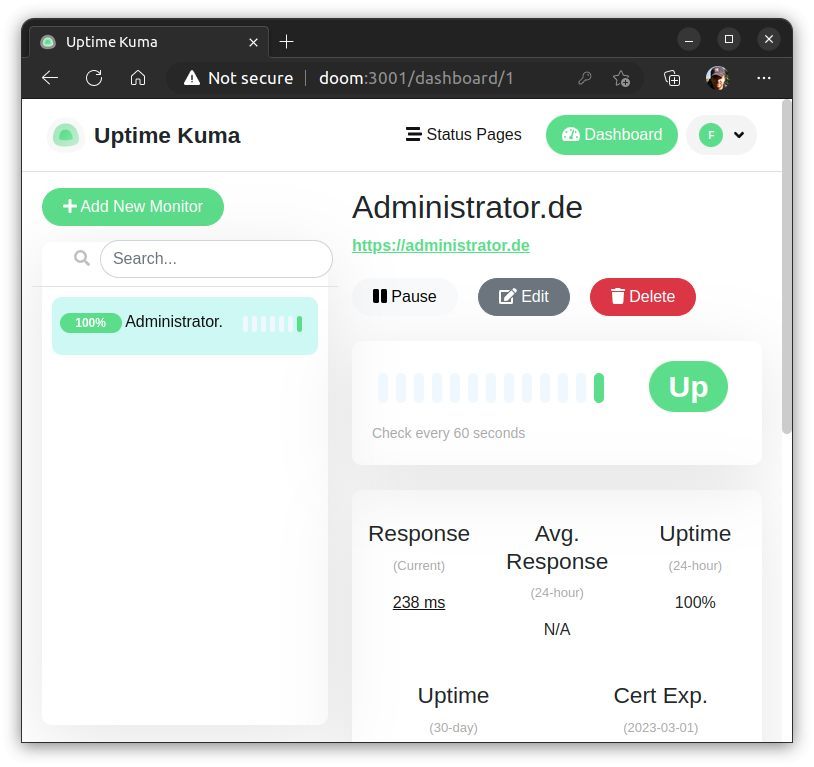
After that you start in the Dashboard. Here you can create a new monitor:
That's it
Feedback, questions and additions are welcome. If you like the tutorial, I am happy about every Like (click on the heart).
Greeting
Frank
Uptime Kuma is a web server that uses different types of monitors ( HTTP(s), TCP ports, keywords, ping, DNS, push, etc.) to store and check the status of the hardware or software being monitored and, if necessary, alert you via notifications of various types (Telegram, Discord, Signal, Slack, Pushover, Email (SMTP), etc.). The software is easy to use and can additionally create its own status overviews. You can install it via Docker or directly. Here are my instructions for the installation without Docker.
Table of contents
- Ubuntu Linux 22.04.1 LTS on a machine or VM that is always running (you want continuous monitoring).
- The installation should be run as a standalone user and not as root user. In my example it is always the user 'frank'.
- node, npm, nvm, pm2
- git
If you already have Node and npm installed on your system, you can skip this step.
Node and npm should be installed with a version manager (nvm). This way you can keep an overview of the many versions. See also: github.com/nvm-sh/nvm
curl -o- https://raw.githubusercontent.com/nvm-sh/nvm/v0.39.2/install.sh | bashThe terminal must be restarted for the environment variables to work. After that the command "nvm" should be available. Short check:
frank@doom:~# nvm --version
0.39.2
Now we install the current version of Node:
nvm install nodeAfter the automatic download and install we check it with:
frank@doom:~# node -v
v19.3.0
frank@doom:~# npm -v
9.2.0
Now all requirements are met (nvm, npm and node).
Details, source code and configuration can be found at: github.com/louislam/uptime-kuma
Now we check again for the current npm version and install the latest version if necessary:
npm install npm -gThen we load the source code from Git and start the installation:
git clone https://github.com/louislam/uptime-kuma.git
cd uptime-kuma
npm run setup
When the message "Done" appears, it still takes a few minutes until the input appears again. Do not abort before!
The "Uptime Kuma" server is ready to start. You can start it directly with the following command:
node server/server.jsI personally find it better if the server runs and is managed in the background. For this we install a process manager (pm2):
npm install pm2 -g && pm2 install pm2-logrotateNow we start the "Uptime Kuma" server using pm2:
The default settings for this are: "localhost" and port "3001":
pm2 start server/server.js --name uptime-kumaYou can of course customize the port and the host:
pm2 start server/server.js --name uptime-kuma -- --port=80 --host=0.0.0.0After the start it should now look like this:

The installation is finished. You can reach the Uptime Kuma Admin web page at:
http://localhost:3001With the process manager pm2 you can control the server:
pm2 start uptime-kuma
pm2 stop uptime-kuma
pm2 restart uptime-kumaTo make Uptime Kuma start automatically on the next reboot, enter the following command:
pm2 save && pm2 startupNow a generated command appears. Now paste this command completely into the shell via Copy&Paste and execute it:
sudo env PATH=$PATH:/home/frank/.nvm/versions/node/v19.3.0/bin /home/frank/.nvm/versions/node/v19.3.0/lib/node_modules/pm2/bin/pm2 startup systemd -u frank --hp /home/frankThis will start the server at the next reboot.
Tip: To get rid of the autostart of the server enter the following:
pm2 unstartup systemdIf the Ubuntu firewall is active, you have to release port 3001:
ufw allow 3001http://localhost:3001At the first start the GUI asks for the language and creates a new user:

After that you start in the Dashboard. Here you can create a new monitor:


That's it
Feedback, questions and additions are welcome. If you like the tutorial, I am happy about every Like (click on the heart).
Greeting
Frank
Bitte markiere auch die Kommentare, die zur Lösung des Beitrags beigetragen haben
Content-ID: 5509572276
Url: https://administrator.de/tutorial/install-monitoring-uptime-kuma-5509572276.html
Ausgedruckt am: 13.07.2025 um 15:07 Uhr
1 Kommentar